


Materials and tools you'll need:
assorted buttons
embroidery floss, waxed cord, thin twine
(any sturdy thread that is small enough to fit through button holes will work)
scissors
something to measure your floss
nail polish (optional but helpful)
super glue (also optional)

Choose the buttons that you want on your bracelet.
For a single strand bracelet, you'll need 9 to 14 buttons.
The number varies with how big your buttons are
and how long you want the finished bracelet to be.

Choose what you're going to thread the buttons on.
I used embroidery floss for this bracelet.
You'll want enough thread to have some extra at the end,
so measure and cut a piece that is 30-36 inches long.

If the thread you're using is prone to fraying,
coat the ends with nail polish.
When the polish is almost dry, twist the floss to make a nice point.
This is optional, but it makes the whole project significantly easier.

While the nail polish on the ends of your floss is drying,
arrange your buttons in the order you want them to be on the bracelet.

Fold the floss in half.
Find the button you want to use last,
and tie an overhand knot in the floss
On one side of the knot
there should be a loop that the button will fit through snugly
and on the other side should be two evenly long "tails" of floss.

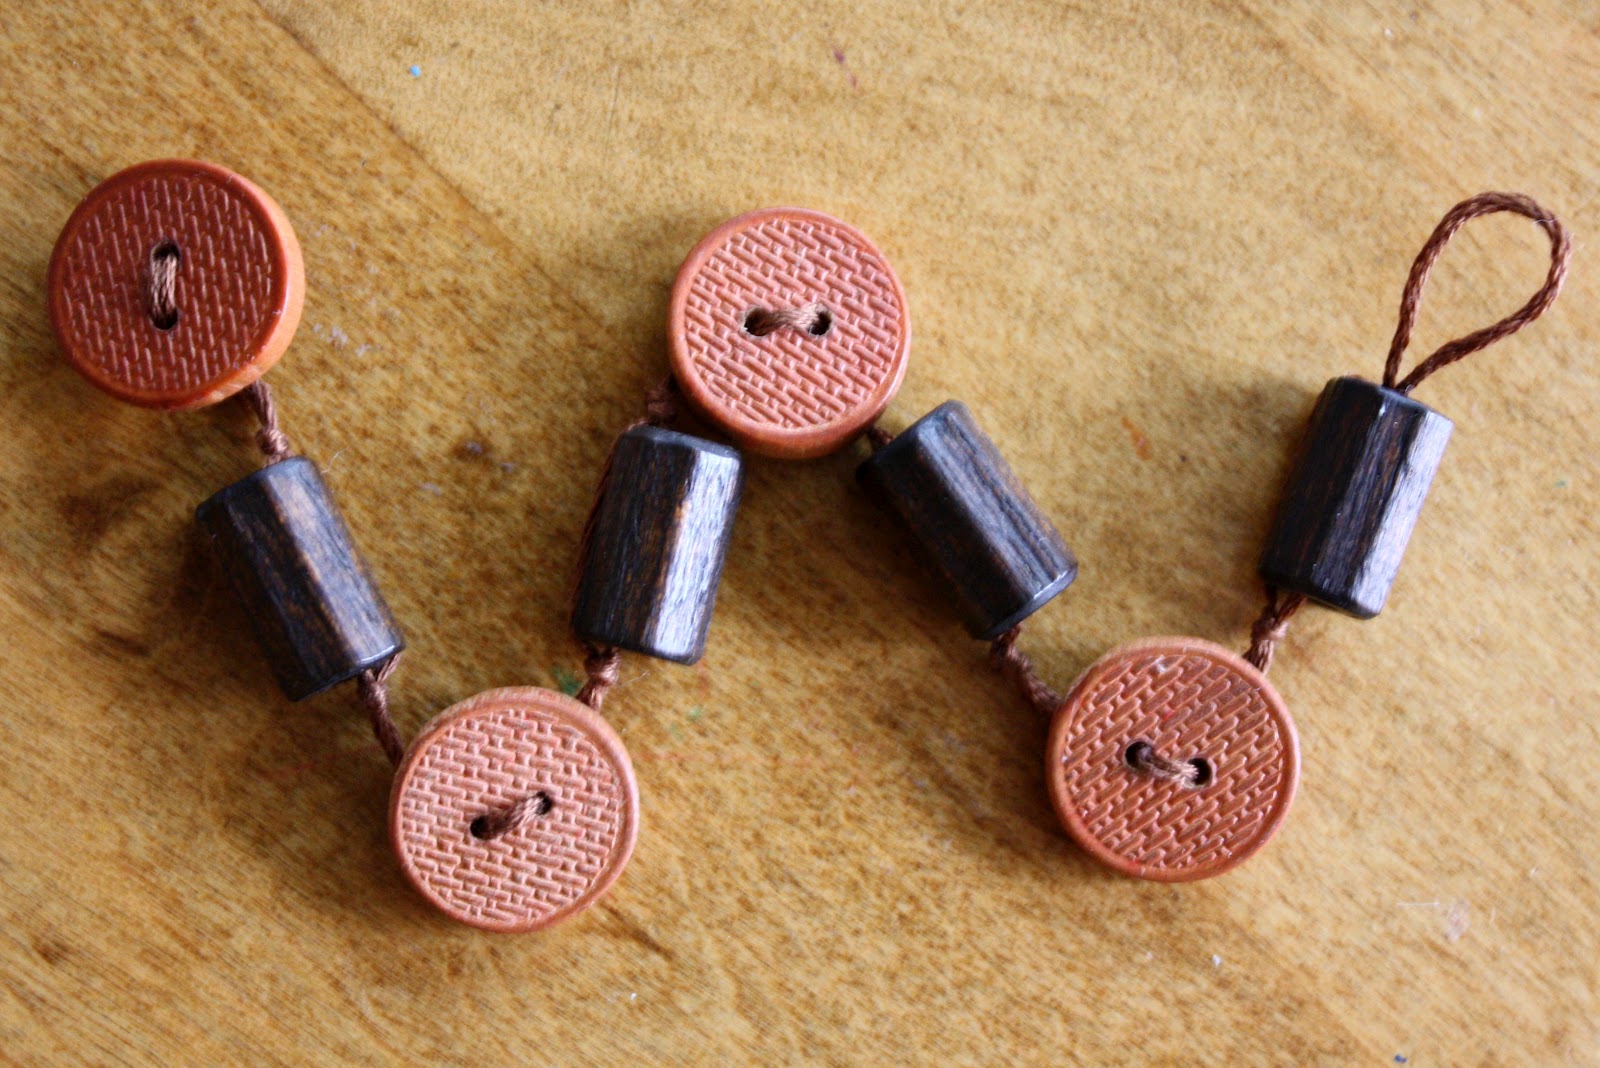
Now thread the first button onto your floss.
There are two ways of doing this with two-holed flat buttons.
You can thread both "tails" of floss through both holes
like in the photo above.

Or you can thread one "tail" through the holes
and leave the other loose on the back.
I find that this second method works better for me;
the buttons seem to do better at facing outward
when the finished bracelet is on your wrist.

Tie overhand knots in the floss between each button
to keep them from sliding around too much.

You can also use shank buttons (above)
or four-holed flat buttons (below).

Continue stringing buttons onto your floss
until your bracelet is as long as you want it.

Tie a square knot after threading the last button onto the floss.

Trim the "tails" of floss
so that they don't peek out from behind the last button.

Add a dab of super glue to your square knot
to ensure that your bracelet doesn't come apart.
(Once again, this step is optional.)

Here is the back of the finished bracelet.

And this is the front.
Super-cute, right?
This blue bracelet is made of vintage buttons,
but you can also use all new buttons
or a mixture of the two.
Experiment with adding some beads.

Make some bracelets extra long
so that you can wrap them around your wrist
two or three times before slipping the last button through the loop.
Try using different types of thread.

Layer multiple bracelets
that are in complementary color schemes.

Put together one or two
or go overboard creating a rainbow
of button bracelet looks.
Happy button bracelet making!
9 comments:
These are so cute! You have the best ideas. :) Great "how-to" post! I loved it!
Super cute!
Thanks for sharing! I put your tut on my Pinterest board.
I agree these are so cute! They turned out so pretty.
I pinned it, too! Thanks for the tutorial.
Too fun! I will definitely be trying this. :)
Can't wait to dig through my grandma's button box to make this. Thanks for sharing. Love your blog, btw!
I am doing this right now
:) yes I am doing it !
Post a Comment